Sensory Integration in the Special Education Classroom

Wednesday, June 29, 2016
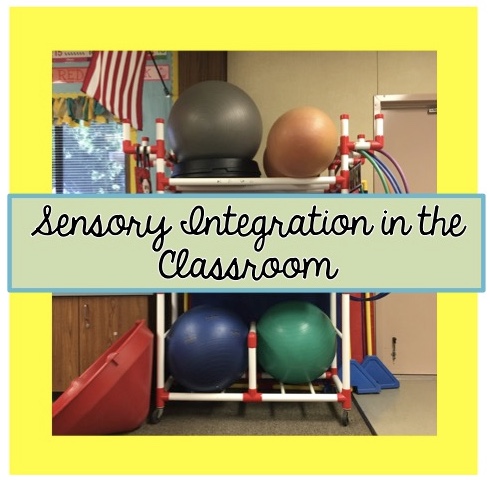
I am a huge fan of sensory integration in my classroom. Sensory integration gives my students what they need, allowing them to feel better, behave better, and learn better. The more I teach students with significant disabilities, the more I understand how important sensory integration is. It has truly changed the dynamics of my classroom.

I know that some teachers are not a fan of sensory integration in their classroom because they believe it is messy, they believe it requires additional staff, or because it is unconventional.  

With that said, here are some tips and trick to integrating sensory techniques into the classroom! 


How I Incorporate Sensory Techniques into My Classroom:
1)   Morning Sensory Spin: Every morning, we do attendance, find our names or write our names, and sing each student a song. While we are singing about a particular student, we allow that student to either spin in my desk chair or bounce on the yoga ball. This allows EVERY student in my classroom to receive some sensory input to start off his or her day. I have found that almost every student loves spinning in my desk chair and many love bouncing on the big yoga ball. Last year, we also had the option of jumping on the trampoline while we sang.
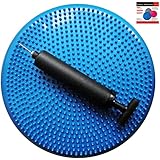
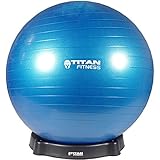
2)   Sensory Seating: This is a common one. I have yoga balls that the students can sit on. I allow my students to sit on their chairs backwards. This allows for them to receive pressure on their abdomen without moving their desk across from leaning on it. They lean on their chair instead of the desk. I also have seat cushions that my students are allowed to sit on. See the list of tools/equipment for more ideas.

3)   Sensory Center: I had a sensory center last school year. I had eleven students and five aides, making for a very busy classroom. In order to cut down on volume and distractions during centers, I had one of my wonderful aides run a sensory center outside. The center consisted of riding scooter boards up and down the ramp outside, spinning in the spinning cone, tossing balls back and forth, writing with chalk, and blowing bubbles. My students loved it. This 
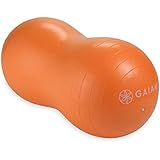
year, my sensory center will be during free choice time. Instead of having free play, I will be focusing on sensory input (bouncing on the balls, rolling on 
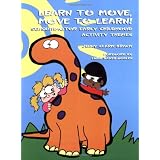
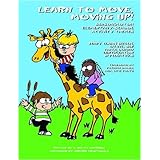
the peanut ball, and spinning in spinning cone).  ***Additionally, I HIGHLY recommend the books listed below for ideas for you sensory center or for P.E.

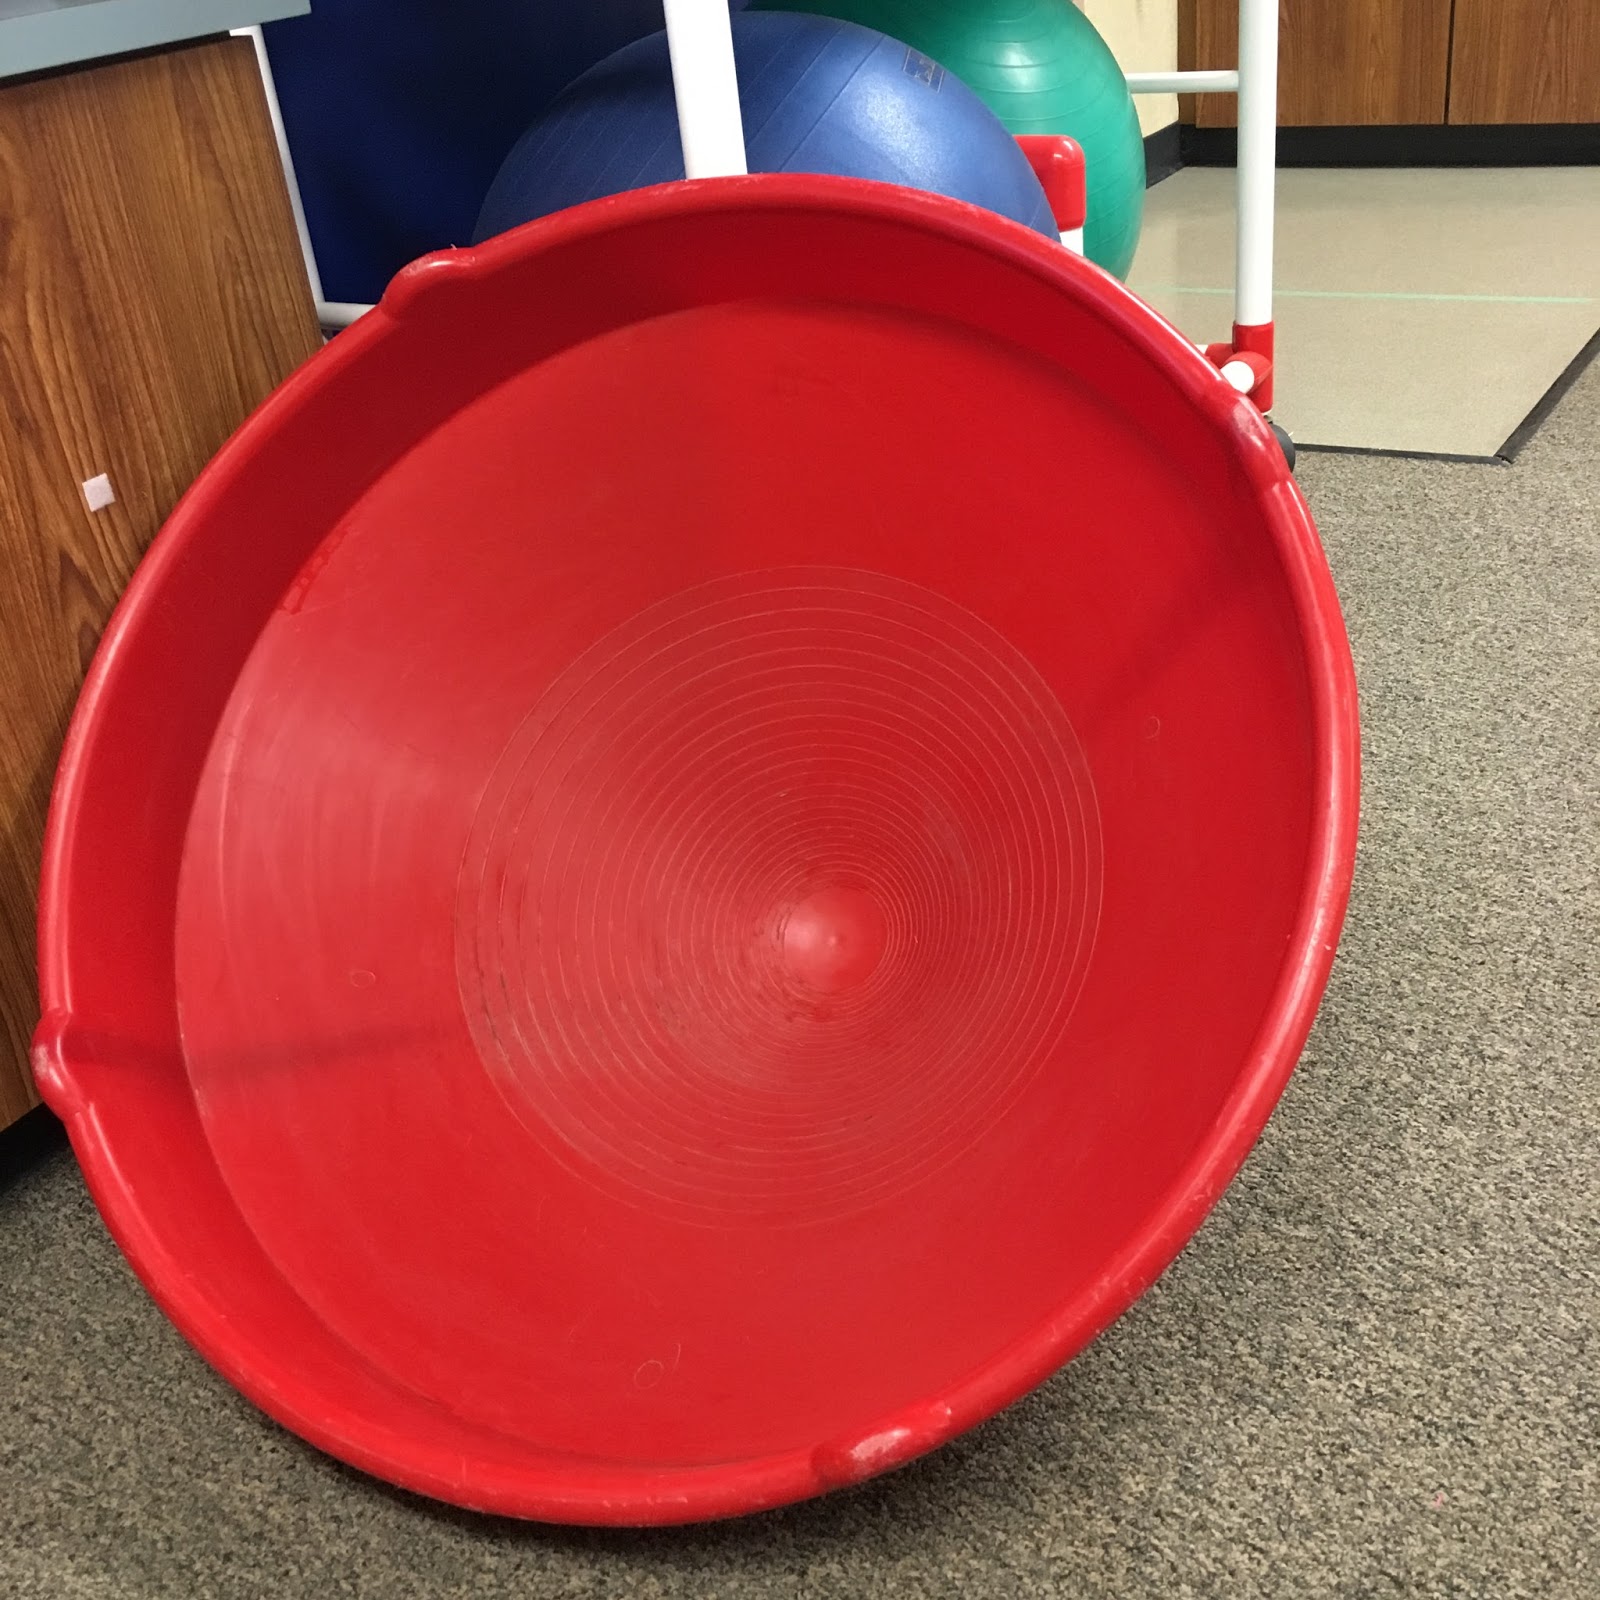
Spinning Cone, a favorite in our classroom

4)   Sensory Break: Some of my students require more sensory input than others. For those students, I allow them to have a planned sensory break during their instructional day. This is more personalized and direct sensory integration. It looks different for each student.

5)   Movement Breaks: Typically, during a 30-minute group lesson, we take 3 dance breaks. We love GoNoodle in my classroom. This allows for my students to receive visual, auditory, and physical stimulation. Also, I try to incorporate movement into my daily activities (rotations, flag salute, music, and etc.) We repeat the same videos over and over again. This helps with skill development, confidence, and even speech (they can sing along if they know the song). 

6)   Quiet Time: After recess and lunch, times that have a large amount of sensory stimulation, I make sure to give my students a break. After recess, we sit and watch educational YouTube videos and songs while we eat our snack. After lunch, we sit and watch Signing Time. Many of my students just need a few minutes to unwind and relax before moving on to direct instruction. 

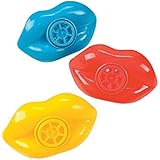
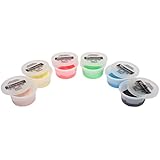
7) Sensory Boxes: I recommend creating sensory boxes for those students that need fidgets or sensory tools throughout their day. Each student can have a box filled with whatever sensory tools they need (putty, puzzles, lip whistles, etc.) Sensory boxes are especially helpful for oral motor tools, helping prevent the spreading of germs and saliva from student to student. Remember to clean oral motor tools every day and keep them clean and dry when storing.
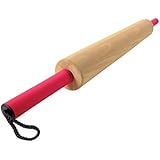
Sensory Tools/Equipment that I Love: (click on the words for Amazon purchasing information)

Product Details

Product Details

Product Details
Product Details

Product Details

Product Details
Product Details


Sensory Resources that I Love:

THESE TWO BOOKS ARE AMAZING! I HIGHLY RECOMMEND! 
Product Details

Product Details


0

My Favorite Unique Learning Systems Lists and Lessons for Students with Significant Disabilities

Tuesday, June 7, 2016
I just finished my second year of teaching. I have learned so much over the past two years. I have found so many wonderful Teachers Pay Teachers products, have become familiar with common reading and math curriculums such as, Edmark, SRA, and Touch Math, and have created many of my own supplemental materials. With that said, my absolute favorite resource that I have access to in my classroom (and at home) is Unique Learning System (ULS) and News 2 You (n2y).  I have found that when used together, the two curriculums are entertaining and engaging, aligned to Common Core State Standards, easy to use, comprehensive, and appropriate for a variety of learners. When I first started using ULS/n2y I was a bit overwhelmed because of how much content there is on the website. I am still learning more and more about the curriculum and discovering new activities and resources, but I have become very familiar with some activities and lessons. I am teaching ESY and I am using it as a time to try out new lessons and activities with my students. For those of you that would like to do the same, the summer units are FREE. Check them out here.


Before I Begin Planning: 

1) I print out the Suggested Monthly Plan ONCE for the entire year. This is a monthly plan that was created by the company. Because each classroom is unique, you will need to adjust the plan as needed for your classroom. My classroom is composed of Level 1 Learners. I take that into consideration when planning. I can use this Monthly Plan for my entire year. I currently use the curriculum for whole group instruction, but hope to begin using it for small group instruction as well this upcoming school year. We use ULS on Mondays, Wednesdays, and Fridays and n2Y on Wednesday and Fridays. The Suggested Monthly Plan includes a blank planning page for you to use as you would like. 


2) I print out the Supply List each month. This a "cheat sheet" of all the supplies that I will need to complete the lessons and activities for the entire month. This saves me from making multiple trips to the store each month. Hey! I can even order from Amazon and be done with one click of a button. 


3) I print out Supplemental Reading List each month. This is a great go to sheet for books to read during Morning Meeting (my calendar time) or during those random transition times that you need something to do. All of the books are leveled and relate to the monthly theme. Some of them require a subscription, but some are free! 


4) I print out the Printing Guide each month. This is my favorite sheet. I actually do not print out many of my ULS lessons and activities. Most of the activities we do using the computer and projector or an iPad, but I love this sheet because it allows me to see all of the activities for the entire month. I can check off the activities as we do them and color coat the activities we will be doing by month. 


My Favorite Lessons on Unique Learning Systems: 

Lessons 1&2: These lessons are sweet and simple. We read a book as a class and then answer five comprehension questions. We do these lessons several times throughout the month. We work on predicting what the book is going to be about before we read, identifying the author and illustrator, and reviewing the book. The level 1 comprehensions questions in Lesson 3 are absolutely perfect for my students. We project the questions, have the computer read them to us, and I call one student at a time to the board to answer a question. I prompt them to answer as needed.

 
Lesson 7-9: We read the words together. I review the initial letter and the sound that the initial letter makes. Because none of my students can write (the lesson below is far too difficult for the majority of my class), I am hoping to practice typing the words and stamping the words by modifying some of the worksheets and activities in Lesson 8 & 9.


Lesson 11: BINGO. Lesson 11 contains vocabulary word cards (calling cards) that I am planning on putting up on my pocket chart each month and simple bingo cards that can be used over and over again to review the vocabulary words for each month.


Lesson 16a: We practice counting objects that relate to the theme. We match the number and then talk about concepts such as, less, more, and same. 


Lesson 24: I appreciate the patterning worksheets on ULS, but I like the patterning worksheets on n2y even better. My students have gotten so great at patterning over this past year that I am going to have to move on to the more difficult lessons.

Those are my favorite lessons and activities. I have heard several people mention that unique is just too difficult for their students. I agree that some activities are difficult, but they can easily be implemented with modification. I have students of all levels in my classroom and all of them can interact with this curriculum in some way. If you have several Level 1 learners and non-verbal students, be sure to check out Active Participation Guidelines and Active Participation Scripts. After reading those instructional guides and reflecting on my own classroom, I developed this AT Checklist as a way for me to remember what I need to do to make each monthly unit accessible to my non-verbal/more impacted students. My iPad communication application of choice is Dynavox Compass, but you can use whatever device that you have access to. 


You can download my assistive technology to-do list here. 

How do you use ULS/n2y in you classroom?
9
Copyright Delightfully Dedicated: 2015. Powered by Blogger.