As many of you know, I have recently become a huge fan of creating and using interactive PDFs for my students to use in my classroom. I love that I can create a personalized activity for my students that requires no additional prep. Additionally, my students really enjoy these activities because they can be used on the computer and iPad. I have had so many people ask me how I create these interactive PDFs. Today, I am finally sharing my simple tutorial for creating interactive PDFs. Creating interactive PDFs is very simple, but it is very time consuming! If you have additional questions, you can email me at delightfullydedicatedspecialed@gmail.com.
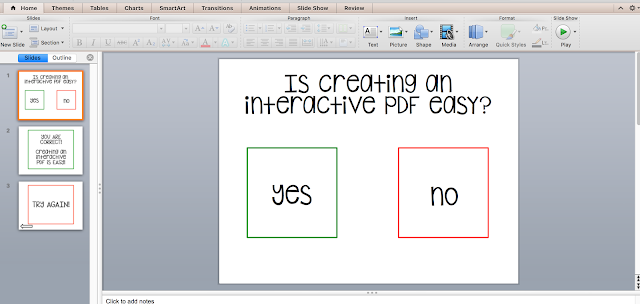
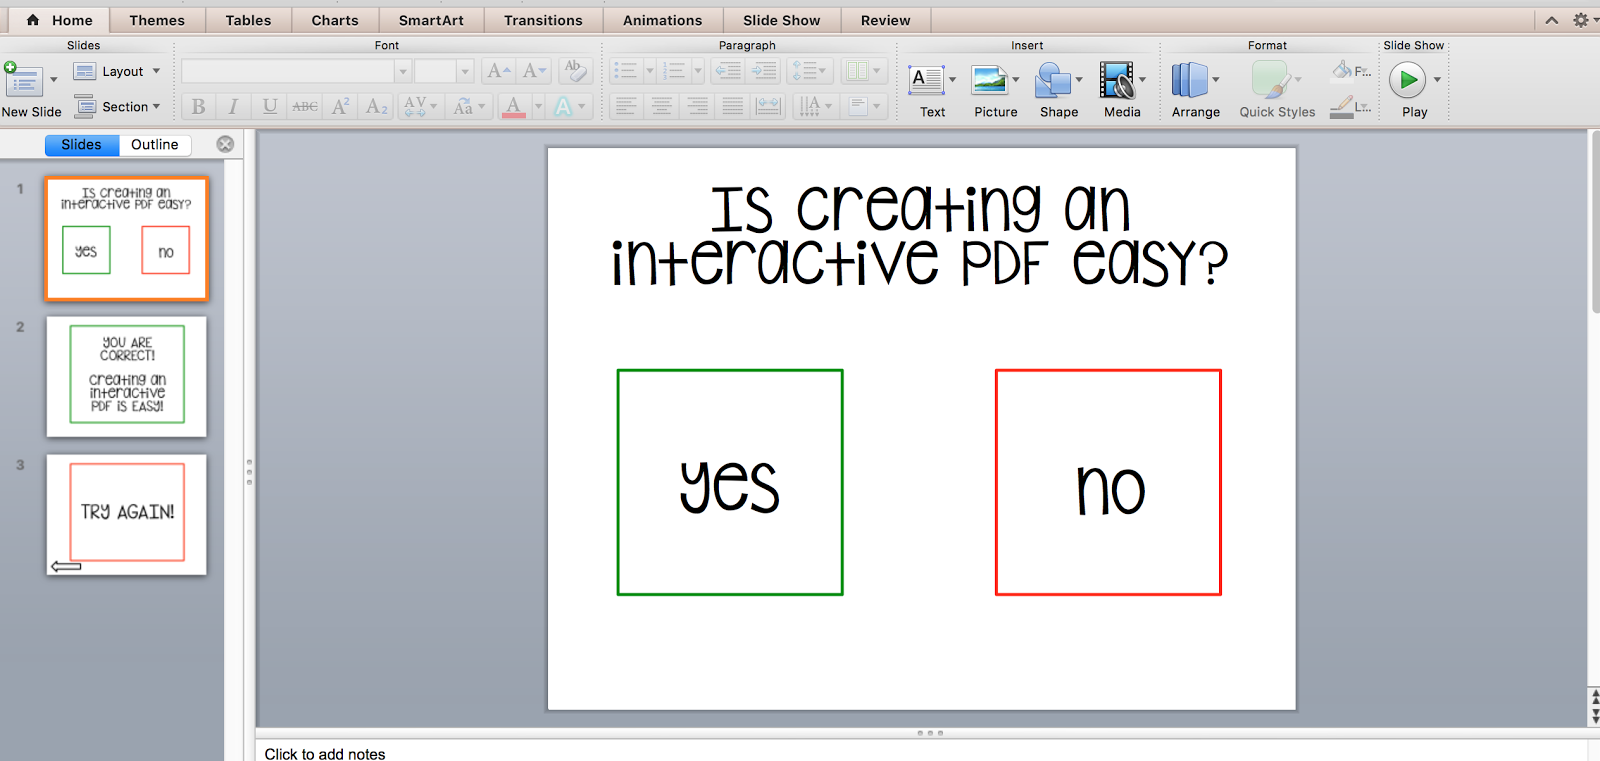
1. Create your activity using powerpoint
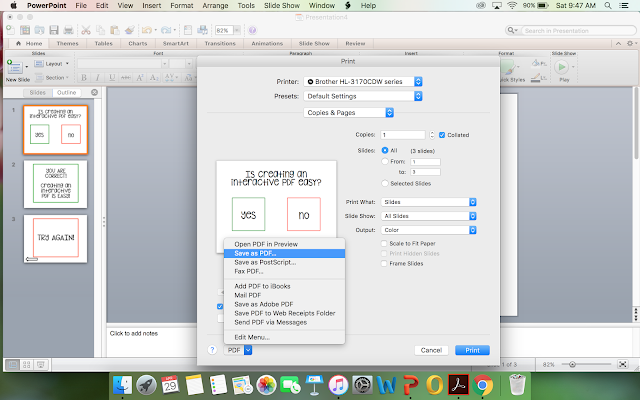
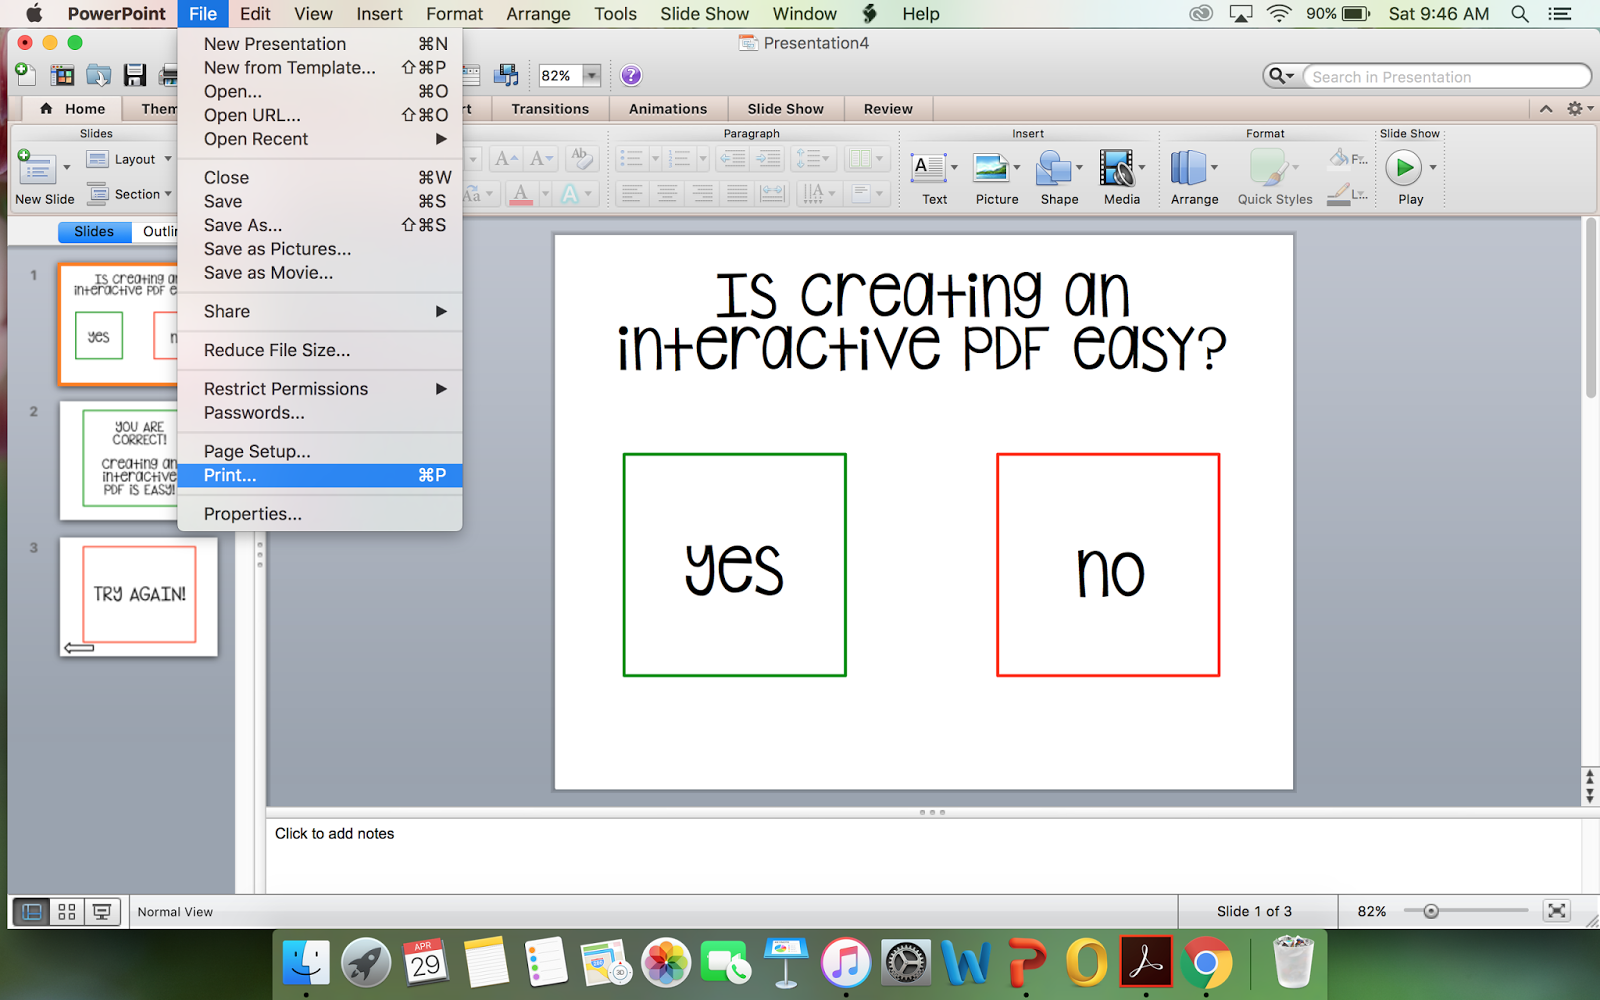
2. Save the powerpoint as a PDF
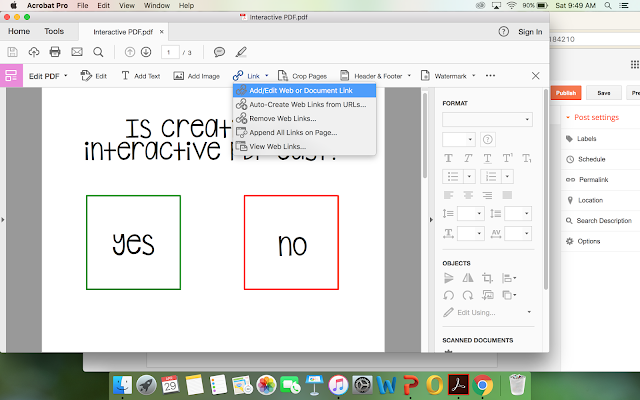
3. Open the file in Adobe Acrobat
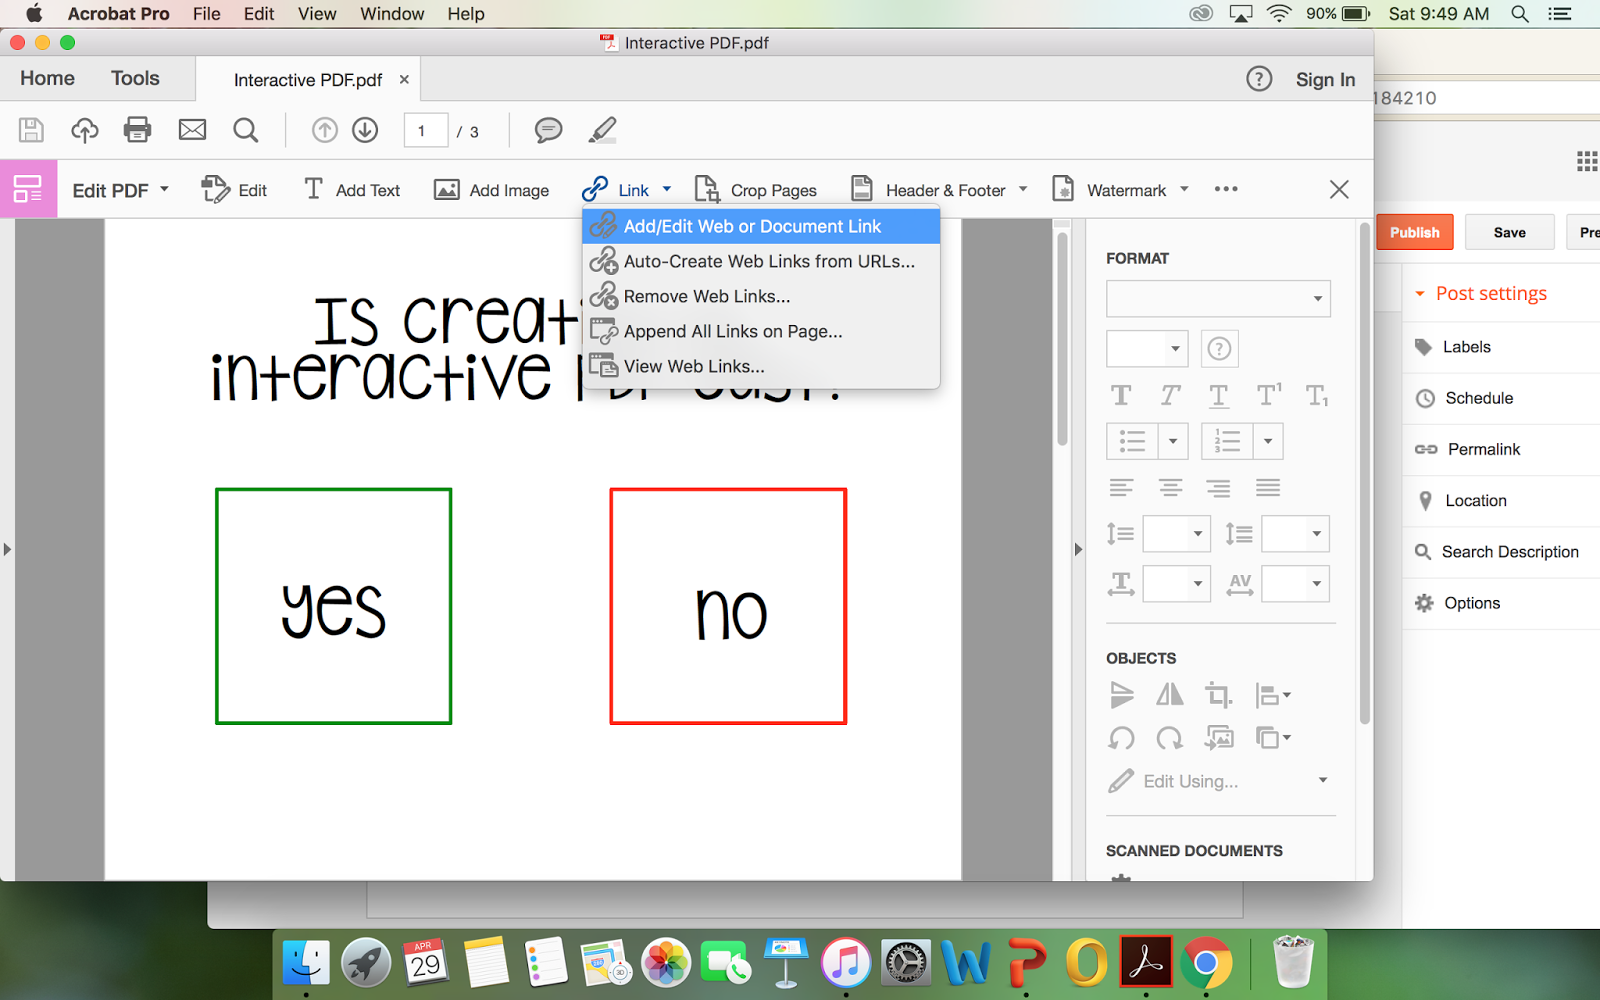
4. Go to "Tools" and Select "Edit PDF"
5. Select "Links" and then Select "Add/Edit Document Links" from the drop down options
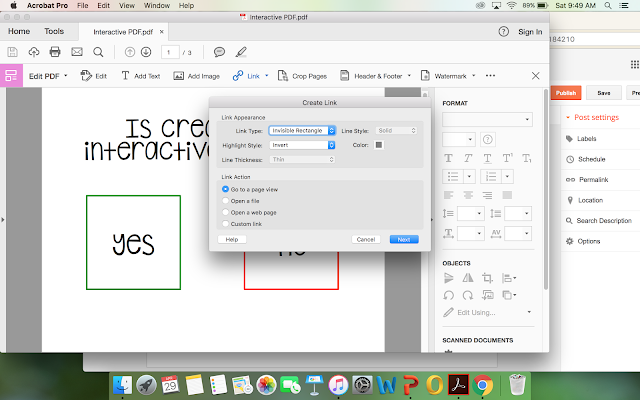
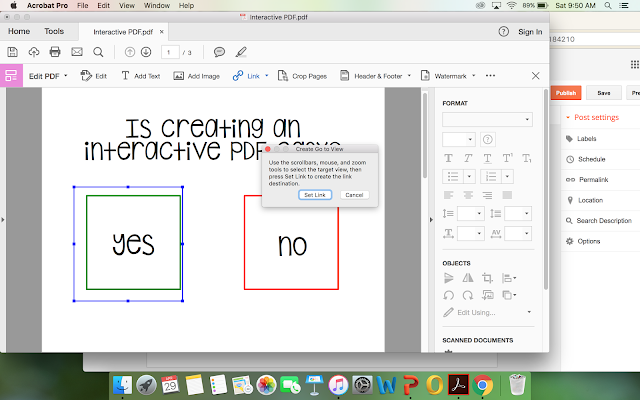
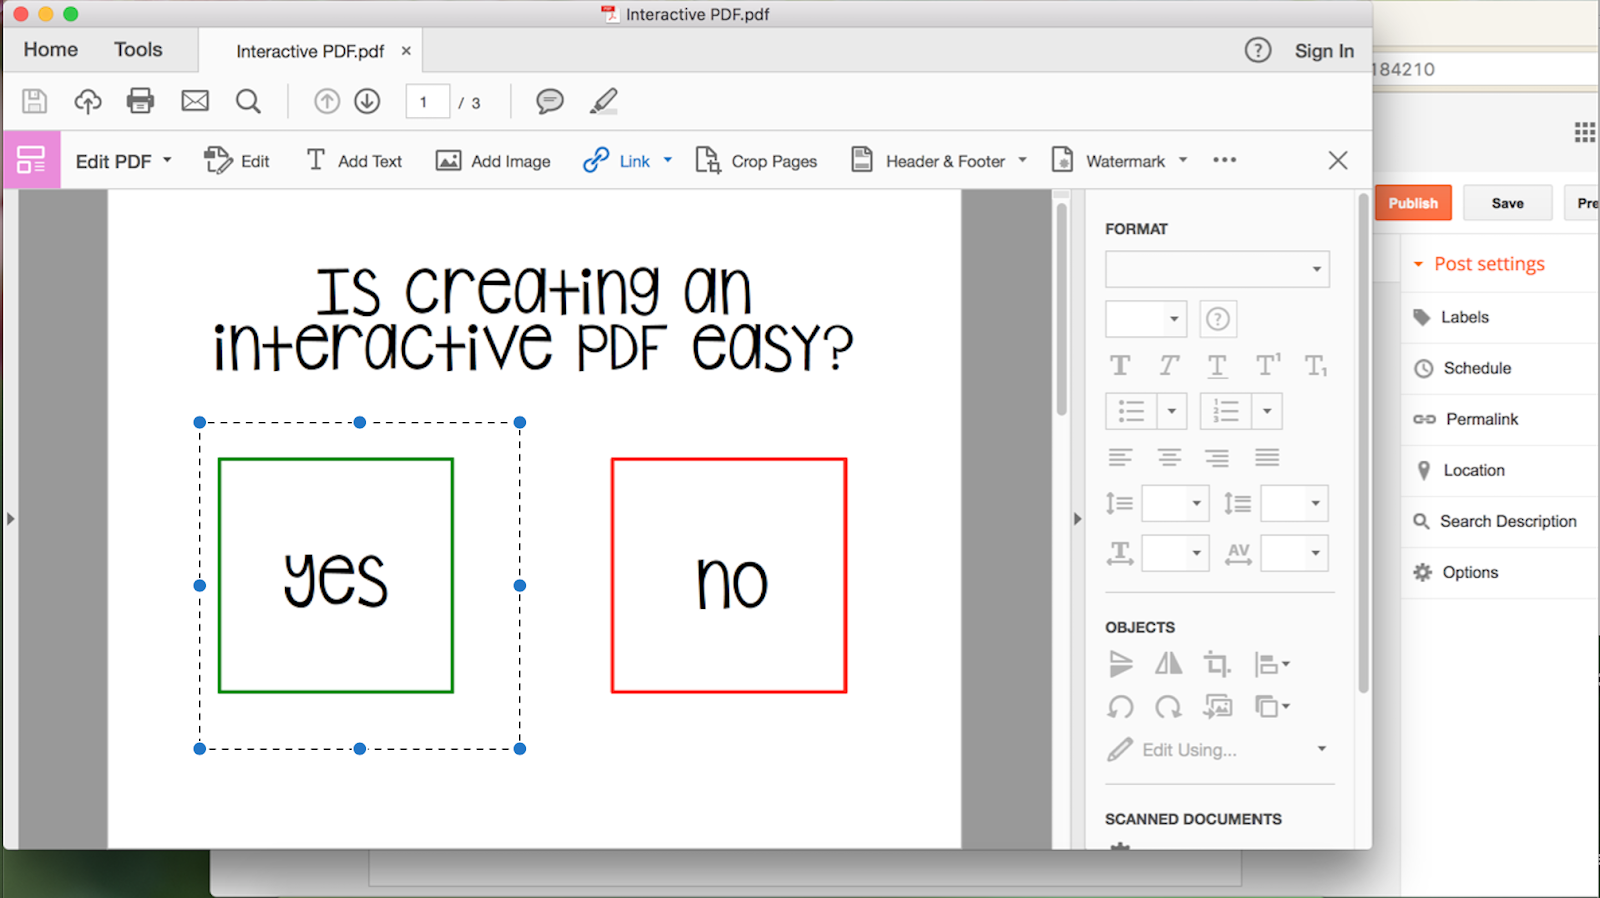
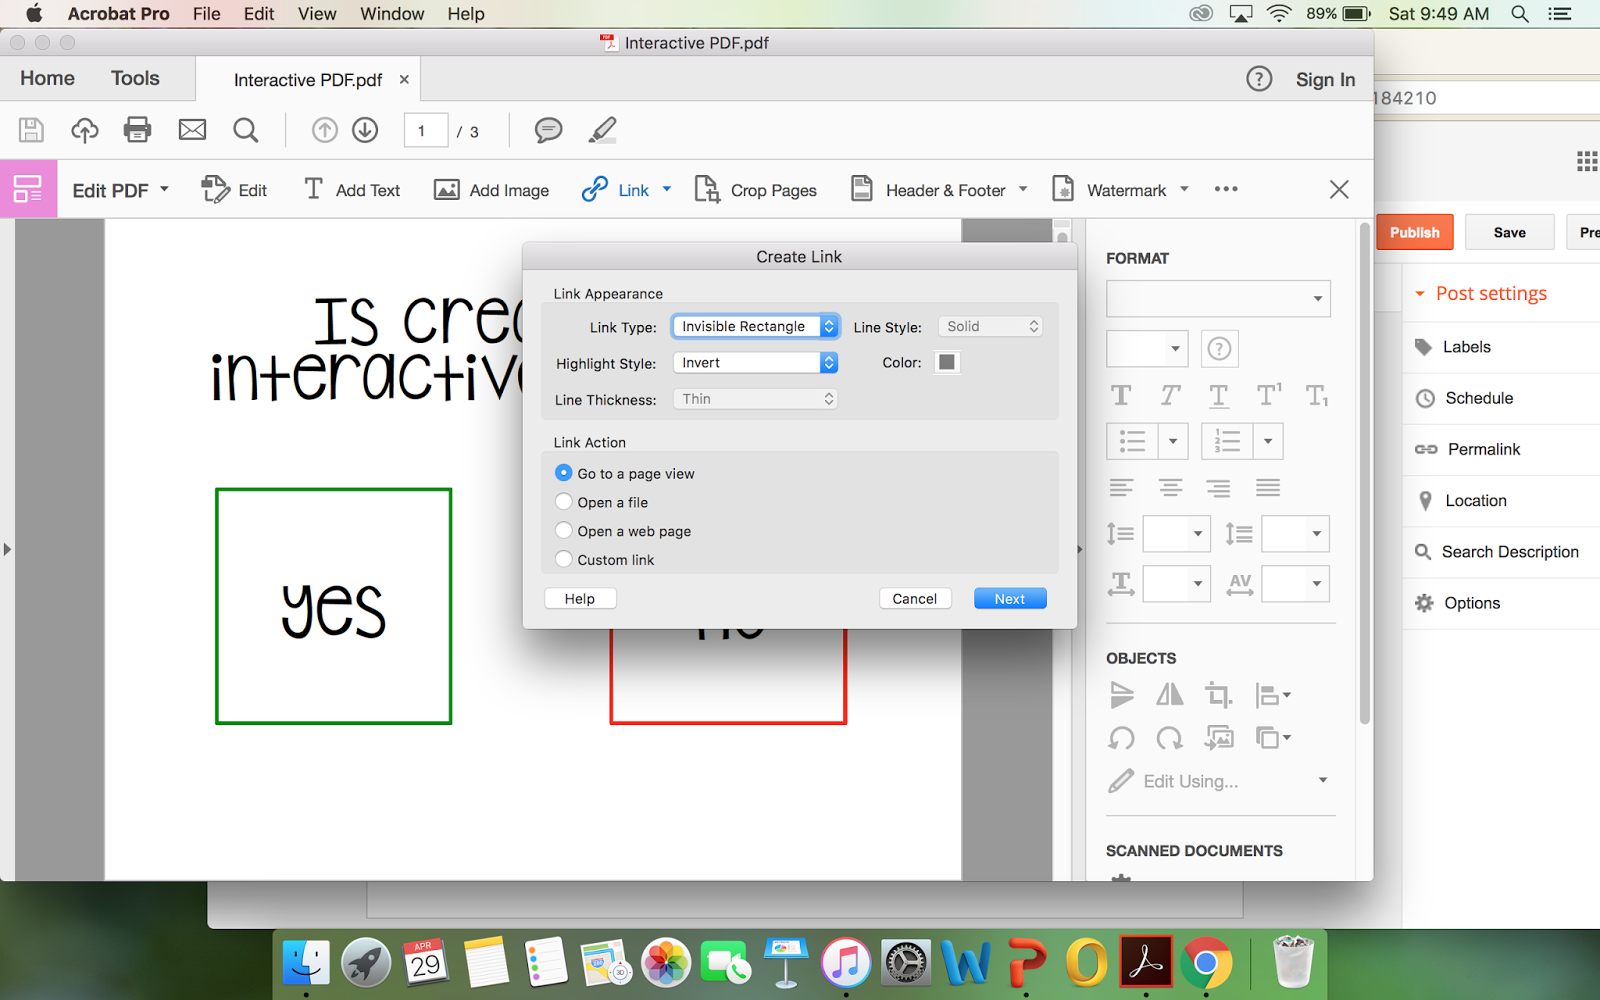
6. Draw a box with your cursor around the item/area of the page that you want to be linked. A pop up window will open. Make sure that "Go to page view" is selected under "Link Action." Select "Next."
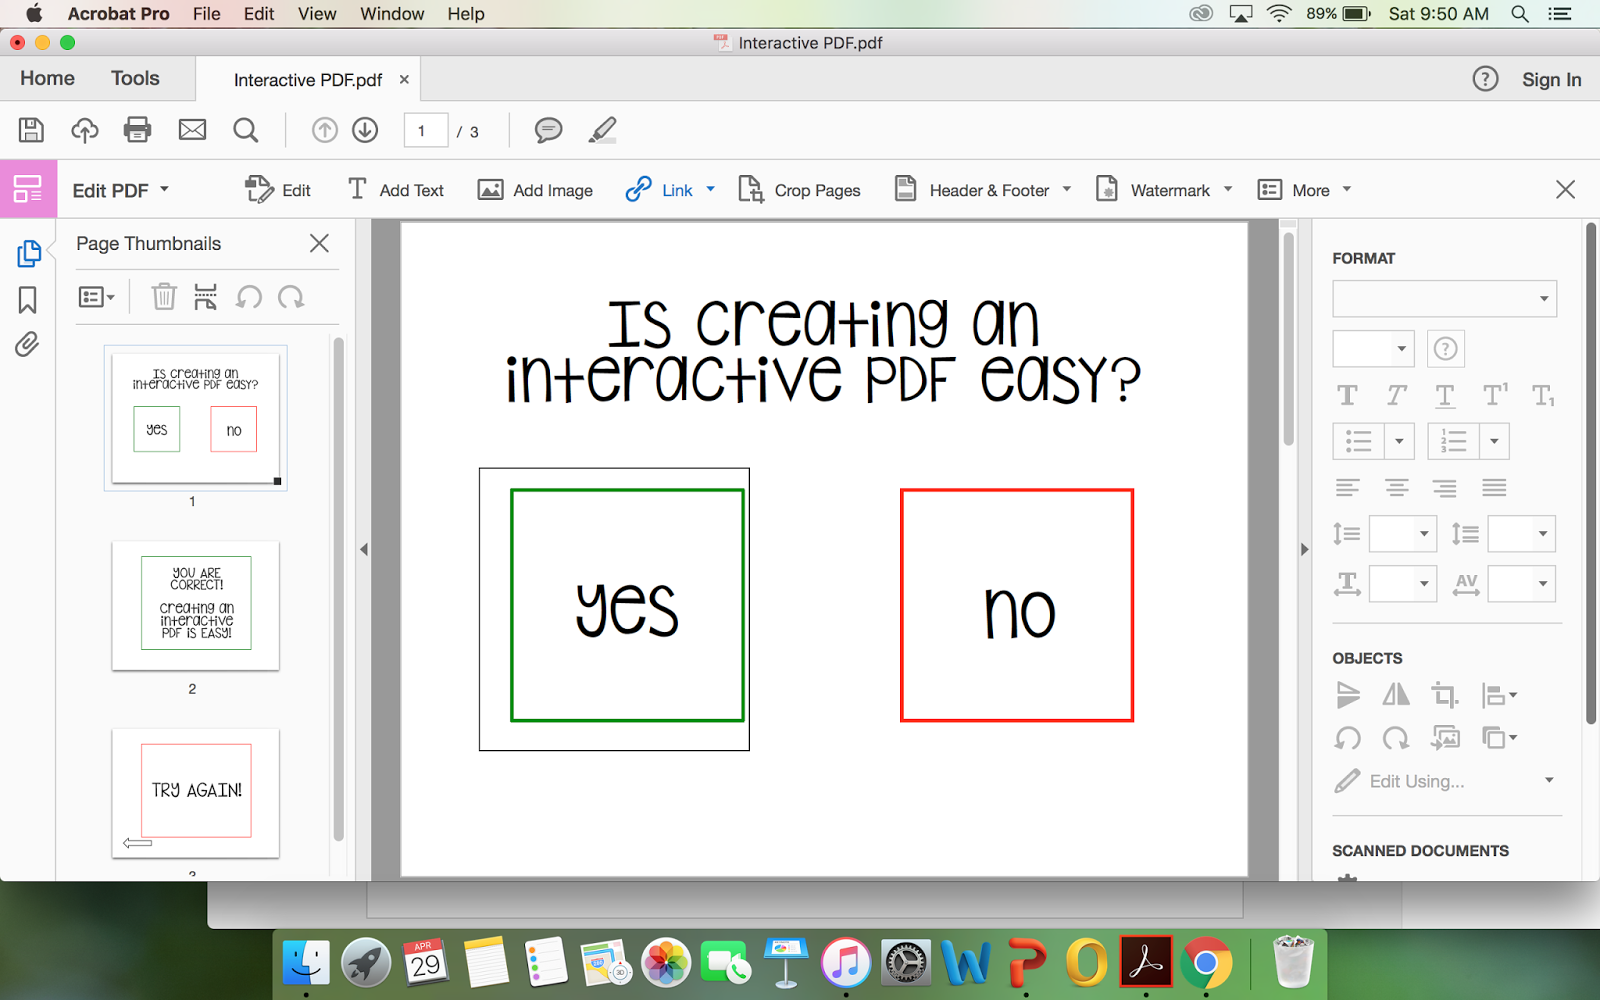
7. A pop up window will open giving instructions. Go to the page that you would like the item/area of the page that you selected to be linked to. Once you are on the page that you want it to be linked to, select "Set link."
8. Continue steps 6-7 for the remaining links that you would like to add
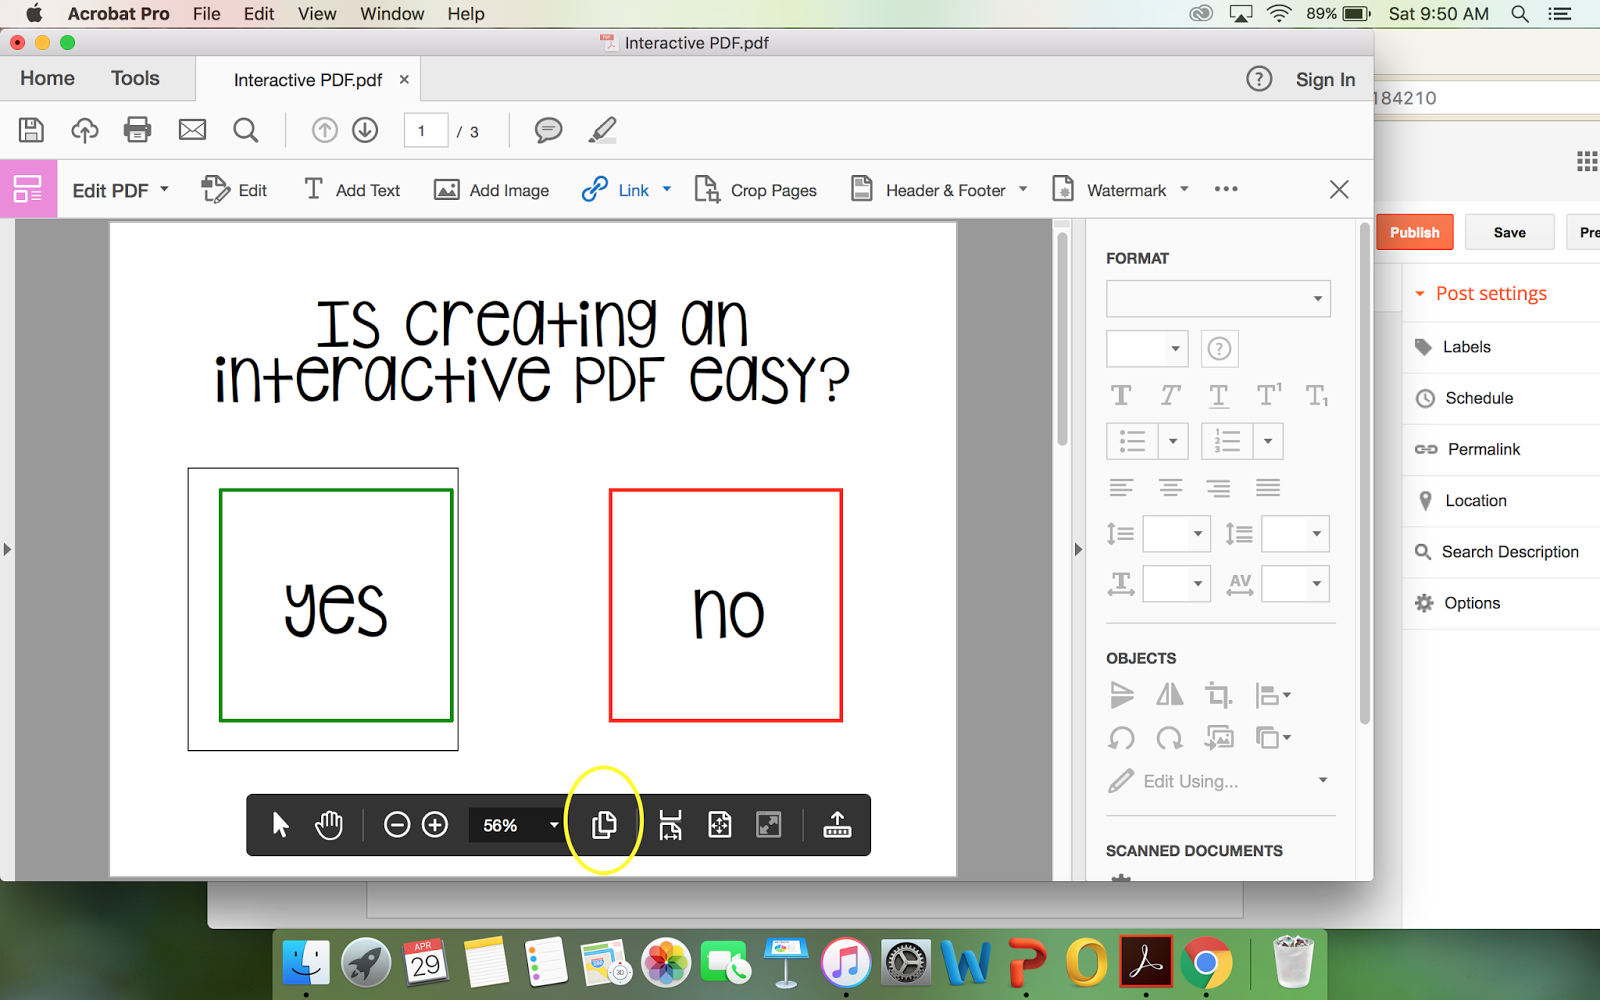
TIP: Place your cursor towards the bottom of the page. Select multi page view so that you can see 3+ pages on the side. This makes it easier to navigate from one page to the next.
Check out my interactive PDFs here!


